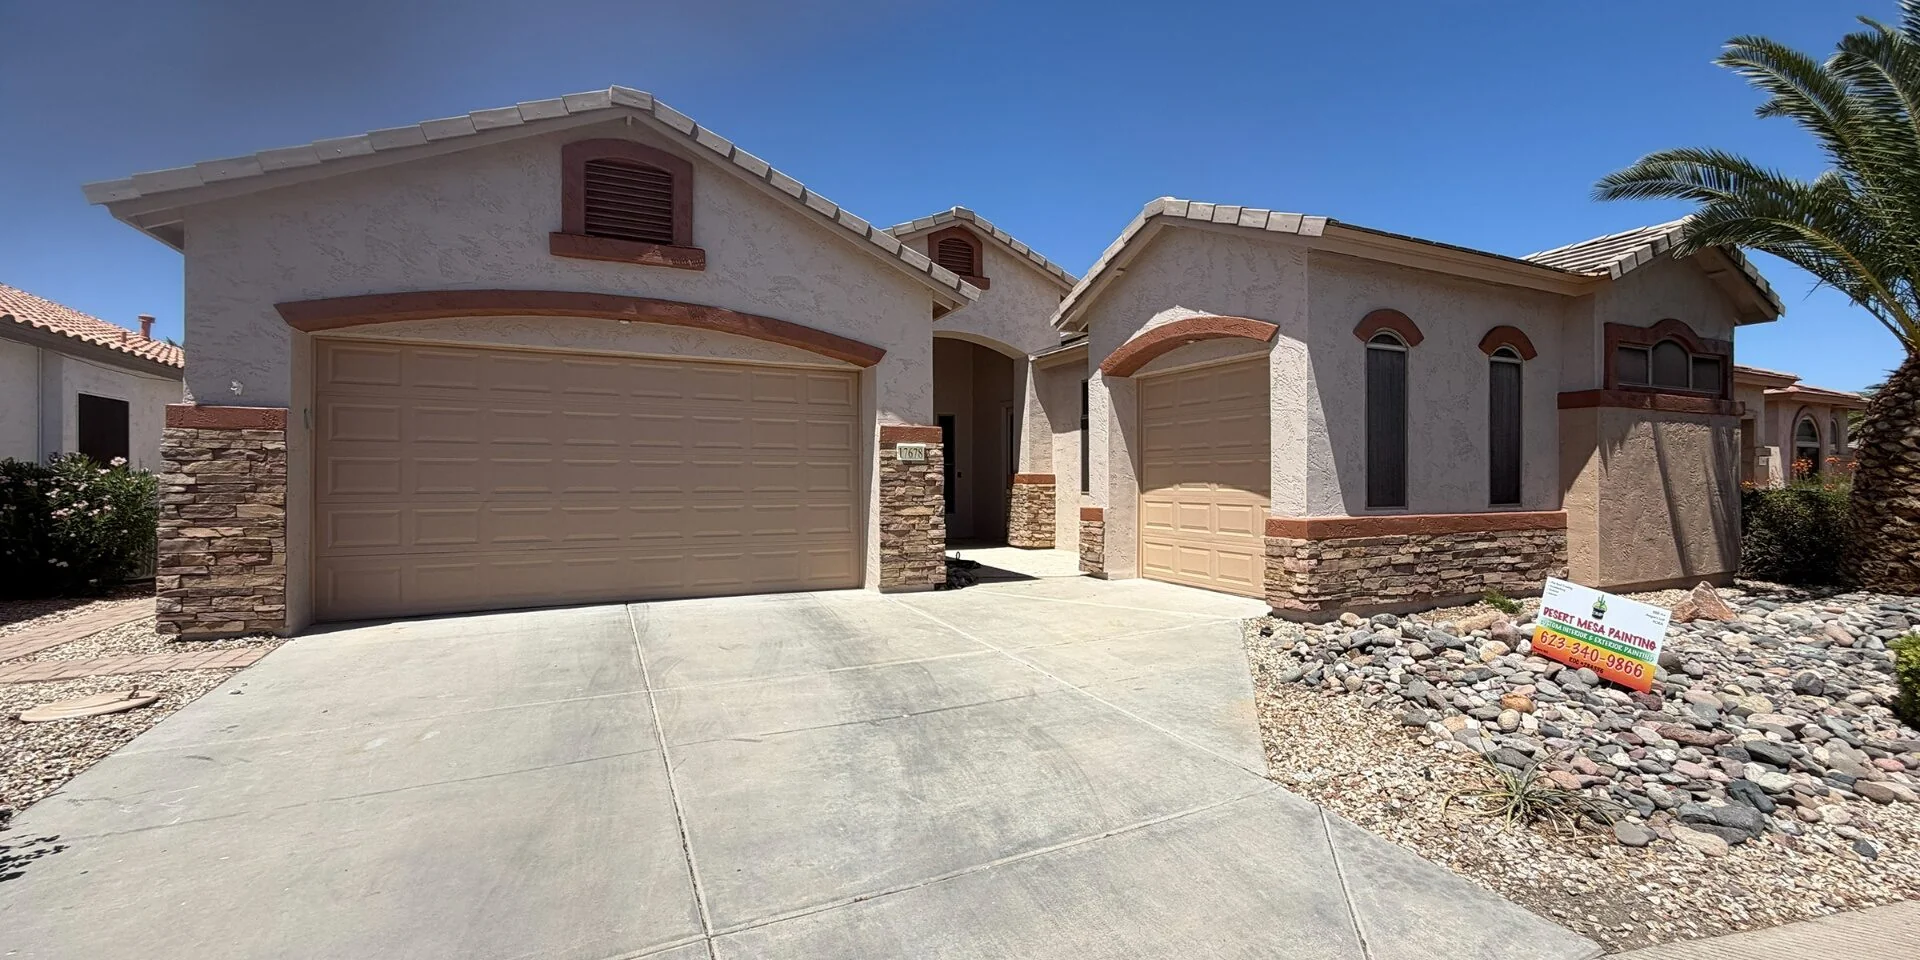

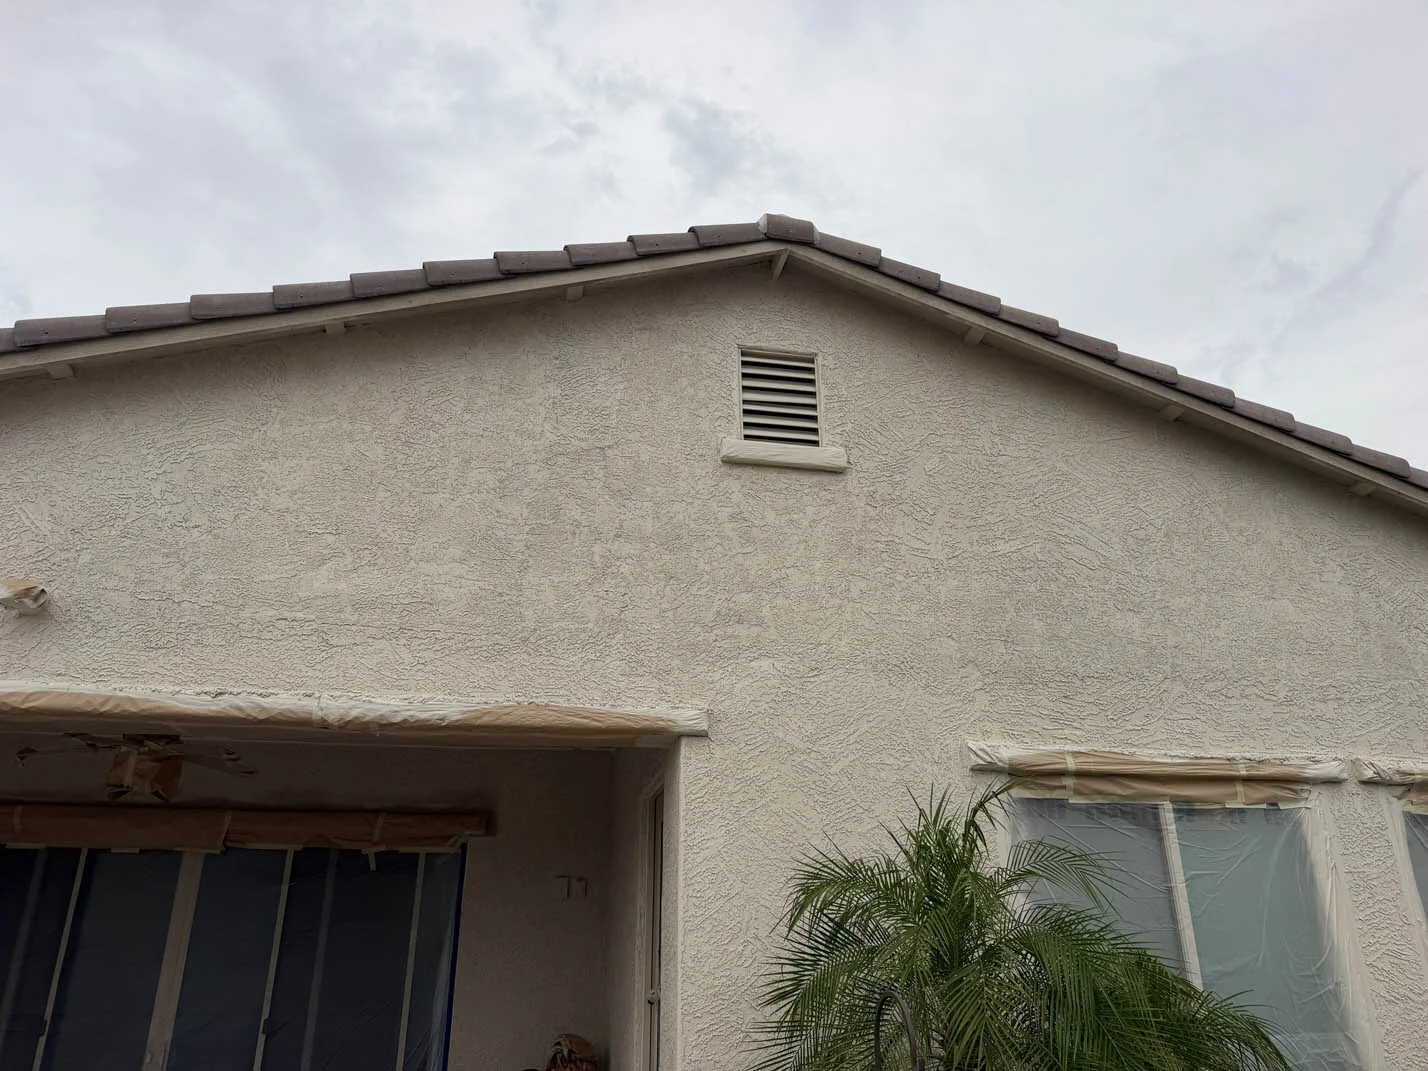
Arizona monsoon storms drive water into hairline stucco cracks and blow it under parapet caps. Here is how West Valley homeowners spot the damage early, repair it correctly, and seal it with elastomeric coatings before the next storm.
Why Monsoon Season Is So Hard On West Valley Stucco
From late June through September, a Sun City or Surprise home can go from 112 degrees and bone dry to 60 mph wind-driven rain in under an hour. Stucco expands all day in the sun, then gets shocked cool and soaked by a storm. That cycle is what turns a hairline crack you could barely see in spring into a genuine water-entry point by Labor Day.
Stucco is not waterproof. It is water-resistant, and the paint or coating on top of it is a real part of the weather barrier. Once water gets behind the finish coat it travels sideways along the paper and lath, so the stain you see inside the garage is often three or four feet from where the water actually got in.
Older West Valley neighborhoods are especially exposed. Many Sun City and Youngtown homes were built in the 1960s and 70s with parapet walls and flat or low-slope roofs, and those parapets take rain on both faces. Newer stucco in Surprise, Buckeye, and Waddell cracks for a different reason: shrinkage as the house settles in its first several years.
The 15-Minute Pre-Storm Stucco Inspection
Walk the house slowly, once in the morning and once in the late afternoon when raking light shows surface defects. Bring your phone and photograph anything you find so you can compare after the next storm.
- Window and door corners, where diagonal shrinkage cracks start
- Parapet caps and roof-to-wall transitions, the most common leak point
- The bottom 8 inches of every wall, where splash-back soaks stucco
- Around hose bibs, outlets, light fixtures, and dryer vents
- Weep screed at the base, which must stay clear of soil and gravel
- Any spot that sounds hollow when you tap it with your knuckle
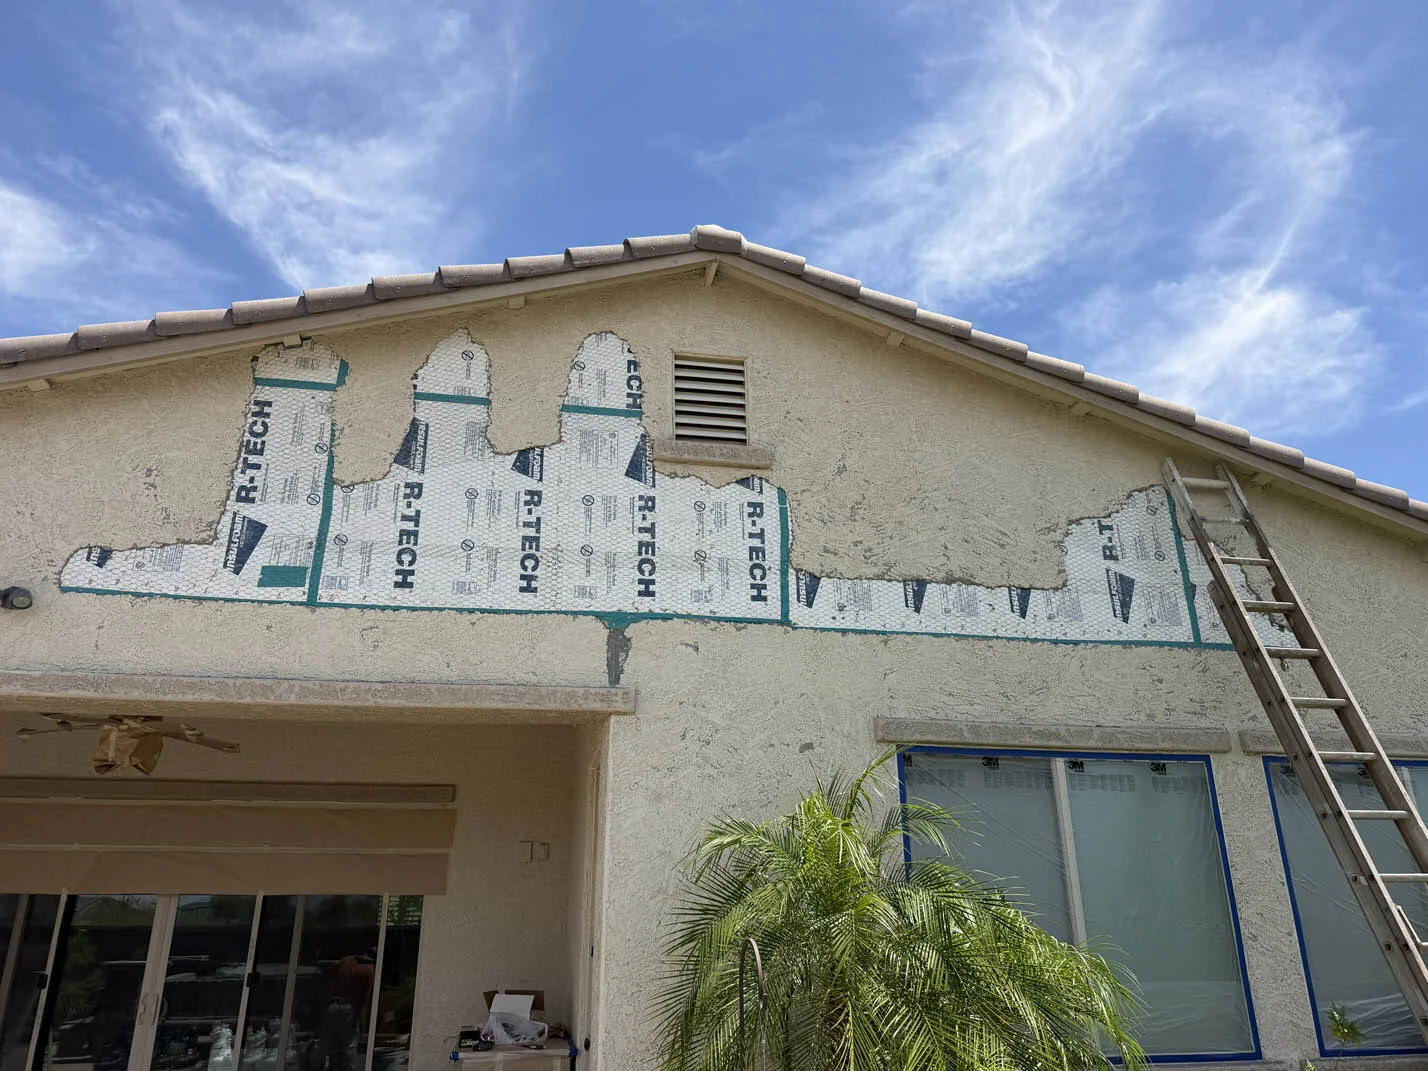
Hollow-sounding stucco is the finding that matters most. It means the finish coat has delaminated from the basecoat, and paint alone will not fix it. That area has to be cut out, re-basecoated, and texture matched before anything is coated.
Which Cracks Are Cosmetic And Which Ones Are Not
Not every crack is a problem. Knowing the difference keeps you from overpaying for repairs you do not need, and from painting over something that will get worse.
| What You See | What It Means | What To Do |
|---|---|---|
| Hairline spidering, thinner than a credit card | Normal shrinkage | Fill and coat at your next repaint |
| Diagonal crack off a window or door corner | Stress concentration, usually cosmetic | Rout, patch, texture match, then coat |
| Crack wider than 1/8 inch, or stepped | Movement or moisture behind the wall | Have it looked at before painting |
| Bulging, hollow, or crumbling stucco | Delamination or wet lath | Cut out and rebuild the area |
| Rust stains bleeding through the finish | Corroding lath or fasteners | Repair and spot-prime before coating |
Never Just Caulk And Paint A Wide Crack
Squeezing caulk into a 1/4 inch crack and rolling paint over it traps moisture and telegraphs through the finish within a season. Proper repair means opening the crack, filling with a cementitious patch material, matching the existing texture, then coating.
How A Correct Stucco Repair Is Actually Done
Our crews follow the same sequence on every home, whether it is a single crack or a full elevation. It is the sequence that decides whether the repair is invisible in two years or obvious in two months.
- 01Open the crack slightly so patch material has something to key into, and remove any loose or delaminated stucco.
- 02Repair the substrate first: replace rusted lath or damaged paper if the moisture reached it.
- 03Apply a cementitious basecoat and let it cure. In August heat that means keeping it damp so it does not flash-dry and re-crack.
- 04Texture match by hand or spray to the surrounding wall. Sand finish, lace, dash, and knockdown all need different technique.
- 05Prime the patch so the new, more porous material does not flash a different sheen through the topcoat.
- 06Apply two full coats across the whole elevation, not just the patch, so there is no visible repair halo.
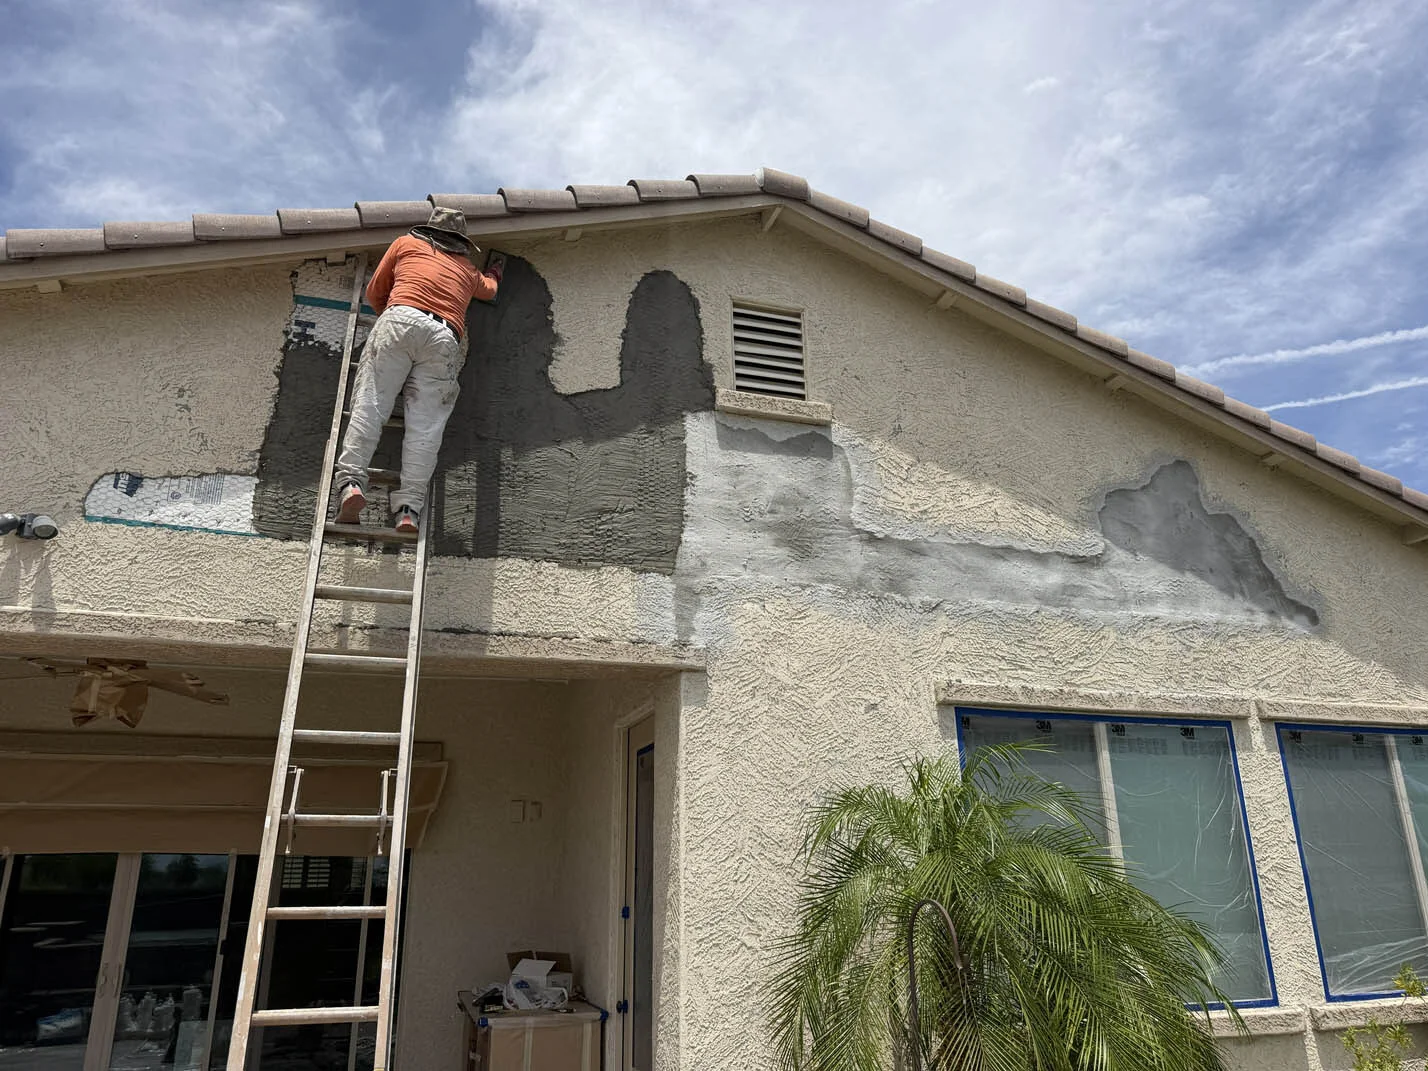
You can see finished examples of this work in our project gallery, and the full scope is described on our exterior painting service page.
Elastomeric Coatings: When They Are Worth It
Elastomeric is a high-build, flexible coating. Applied at the right thickness it bridges hairline cracks and keeps bridging them as the wall moves through 40 degree daily swings. On the right home it is the single best monsoon defense you can buy.
It is not automatically the right answer. Elastomeric is thicker, costs more, and if it is applied over a wall that is holding moisture it can trap that moisture and blister. We recommend it when we find widespread hairline cracking, on parapet walls, and on homes where the previous coating has already failed. On sound stucco with a handful of cracks, a premium acrylic gives you a better finish for less money.
Where Elastomeric Earns Its Keep
Parapet walls and low-slope roof edges. These take rain on two faces and are where most West Valley monsoon leaks start. Pairing a parapet elastomeric with a proper flat roof coating seals the whole transition as one system instead of two products meeting at a seam.
Homes with decorative concrete around the perimeter get the same treatment logic. Sealed cement lace and concrete coatings keep splash-back and standing water off the base of the wall, which is where a surprising amount of stucco damage begins.
Can You Paint During Monsoon Season? Yes, With A Plan
Summer is a working season for us, not a shutdown. We start at first light, follow the shade around the house, and stop early enough that the coating has cured before evening humidity and storms roll in. We watch the forecast daily and will move your day rather than gamble a finish coat.
- Early starts, shaded elevations in the afternoon
- Surface temperature checked, not just air temperature
- Repairs cured before any coating goes on
- Work stopped with hours of cure time before forecast rain
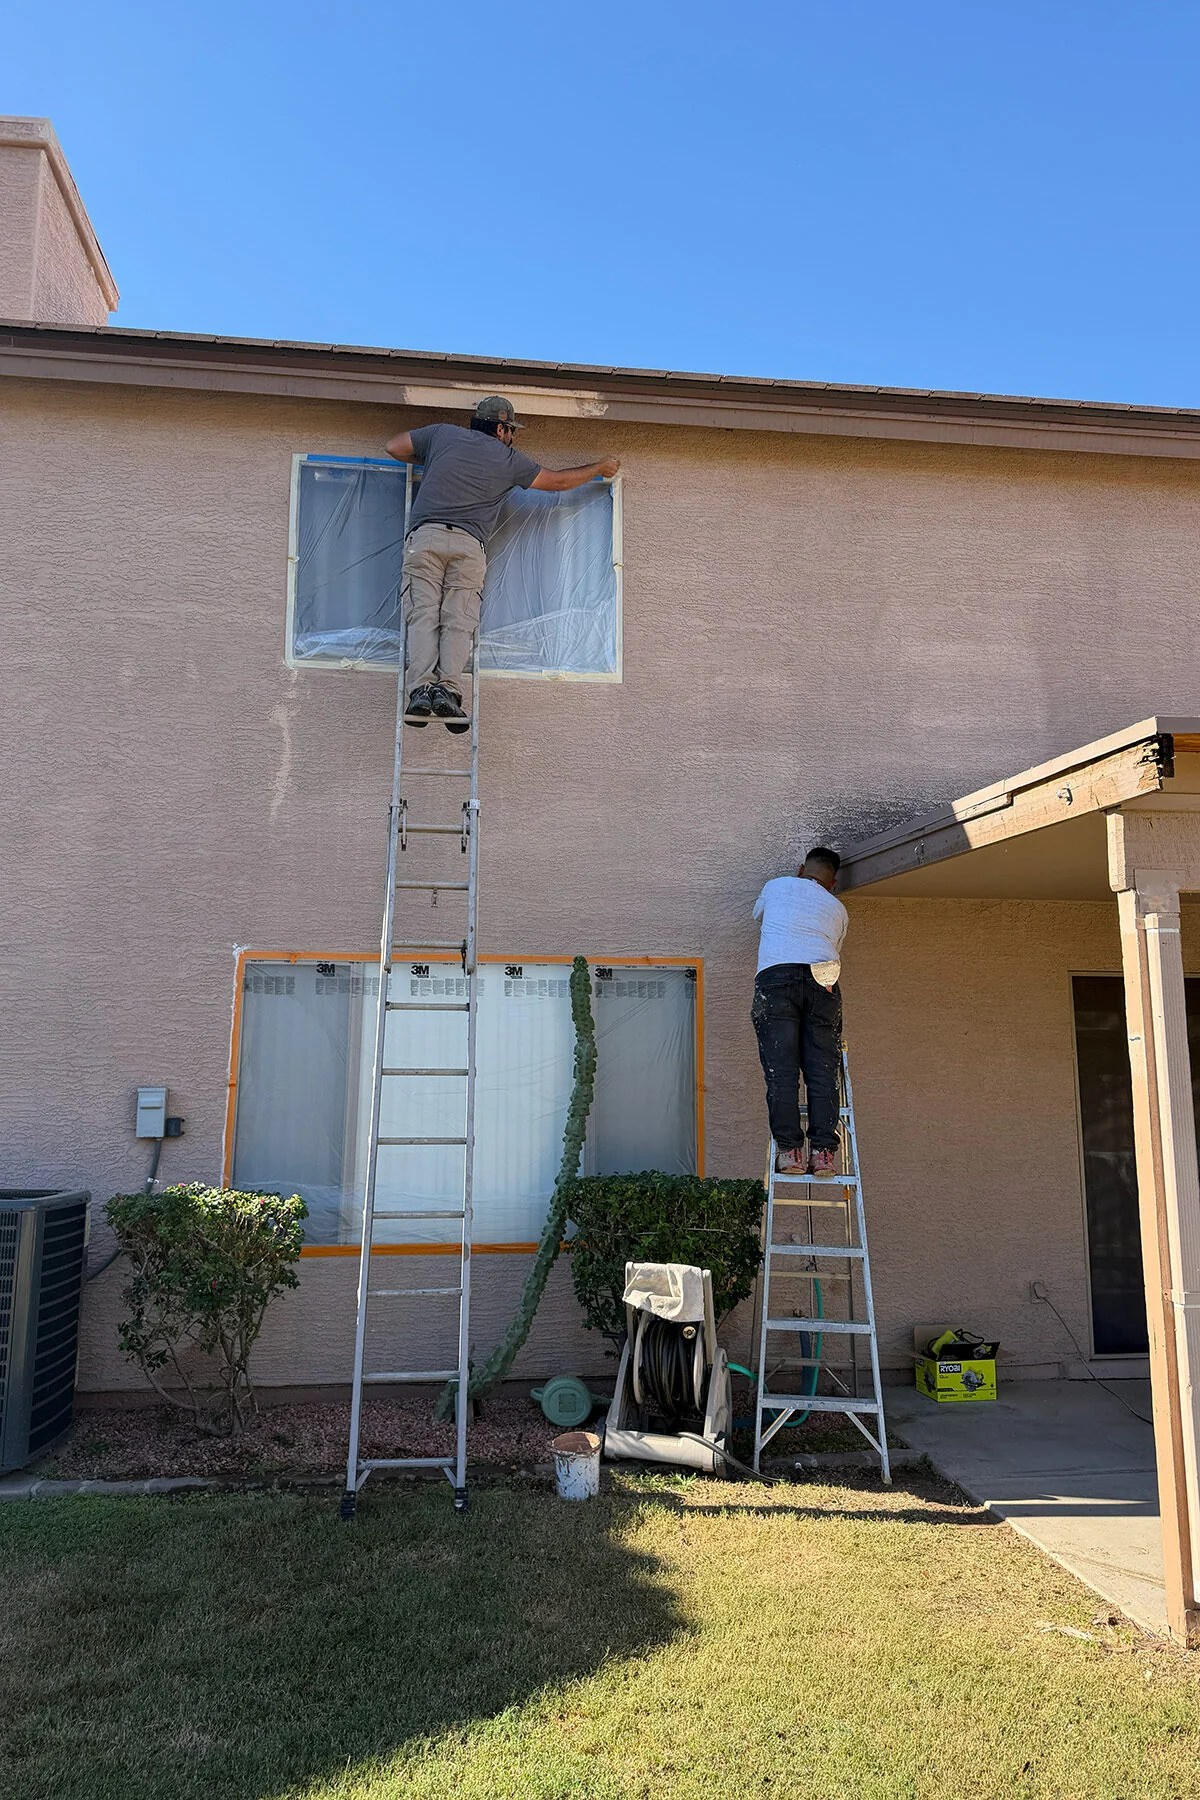
- Masking pulled daily so wind cannot tear it loose overnight
Interior work is the natural pairing for storm days. If weather pushes the exterior, crews shift to interior painting so the job keeps moving instead of sitting idle.
Your West Valley Monsoon Timeline
The best time to fix stucco is before the storms, and the second best time is right after them while the damage is still small.
April – June
Ideal repair and repaint window. Dry, workable temperatures, and everything is sealed before the first storm.
July – September
Inspect after every major storm. Photograph new cracks and stains. Emergency sealing where water is actively getting in.
October – November
Best conditions of the year. Repair everything the monsoon exposed while temperatures are perfect for curing.
December – March
Interior season, plus exterior work on warm days. Good time to plan and budget next summer's exterior.
We serve Sun City, Sun City West, Surprise, Peoria, Glendale, Buckeye, Youngtown, and Waddell. See the full West Valley service area.
What It Costs, And How We Quote It
Hairline crack filling is normally included in an exterior repaint price. Larger work, such as re-basecoating a blown-out section, replacing lath, or texture matching a full elevation, is itemized separately so you can see exactly what you are paying for and decide what to do now versus later.
Every estimate is free and written, and we never take a deposit. You pay when the work is done and you are happy with it. If the number is larger than you planned for, we offer financing options, and current seasonal specials are always listed on the site.
Ready to get it handled before the next storm? Request your free estimate or read more about how we work on our about page.
Monsoon Stucco FAQs
More answers on our painting FAQ page.